
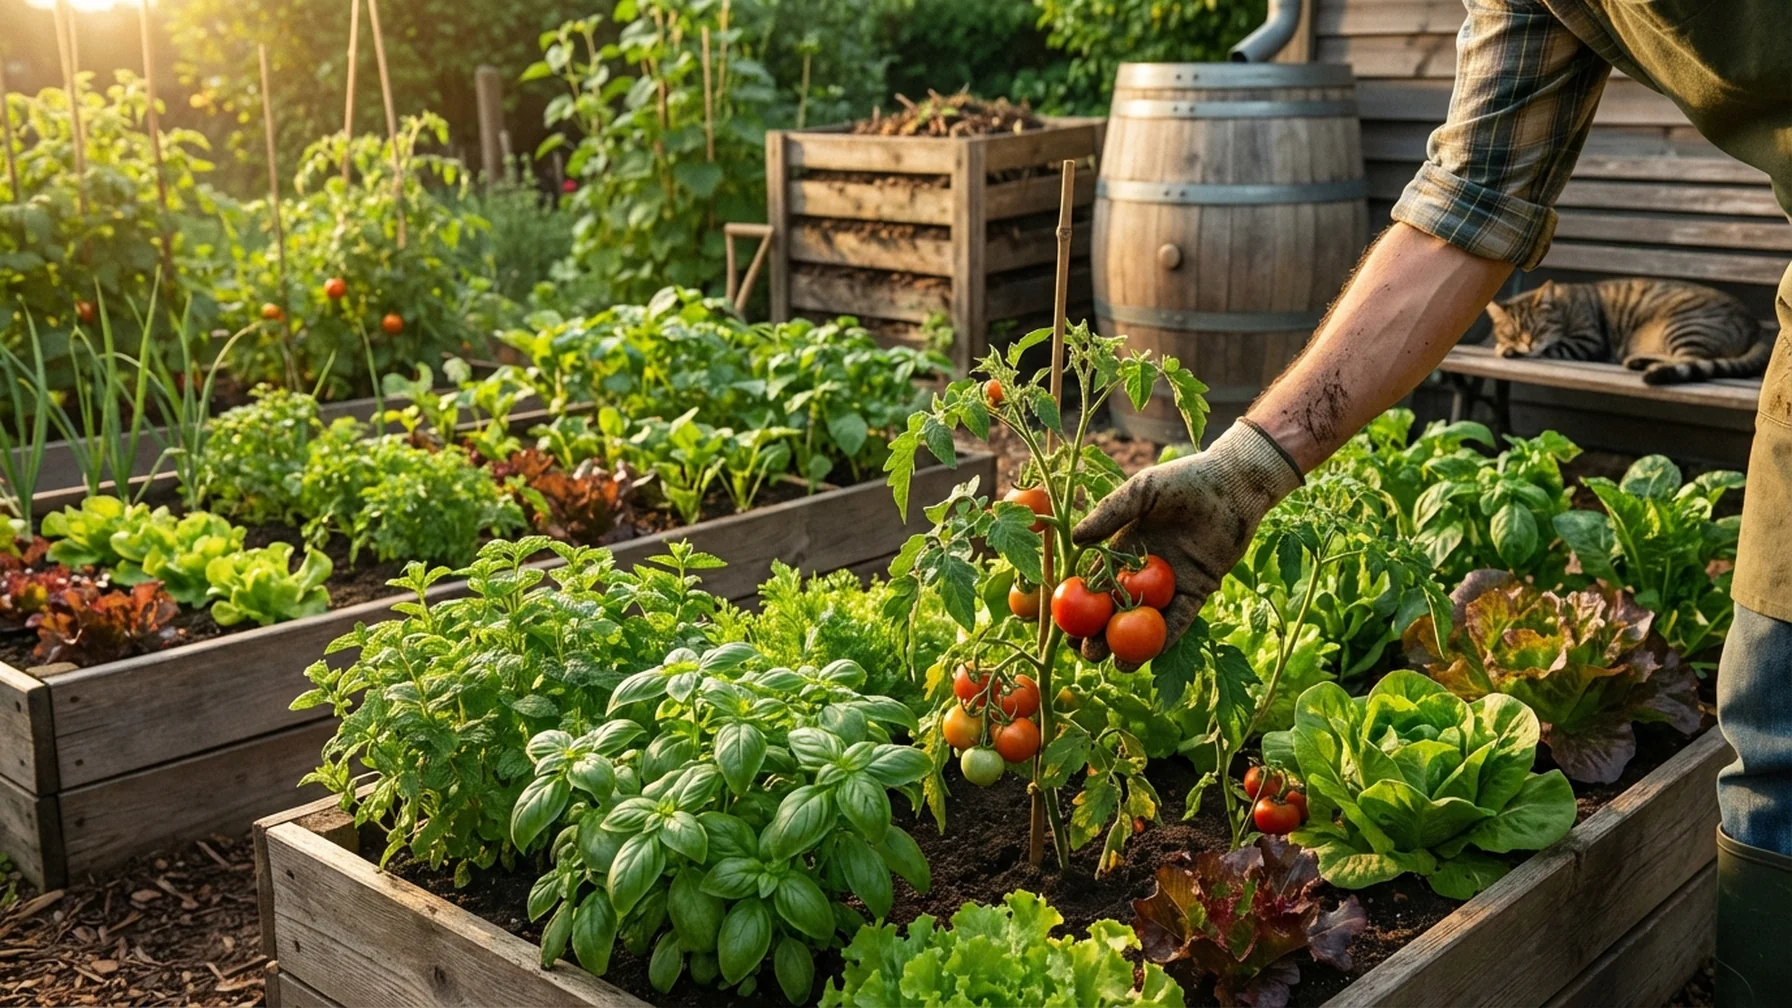
Cultivate Your Own Organic Paradise
Join us in embracing sustainable living with premium gardening solutions that nurture both you and the planet.
Get StartedWhy Choose The Heritage Allotment?
Organic Gardening Expertise
Benefit from our extensive knowledge in organic practices, ensuring your garden thrives naturally.
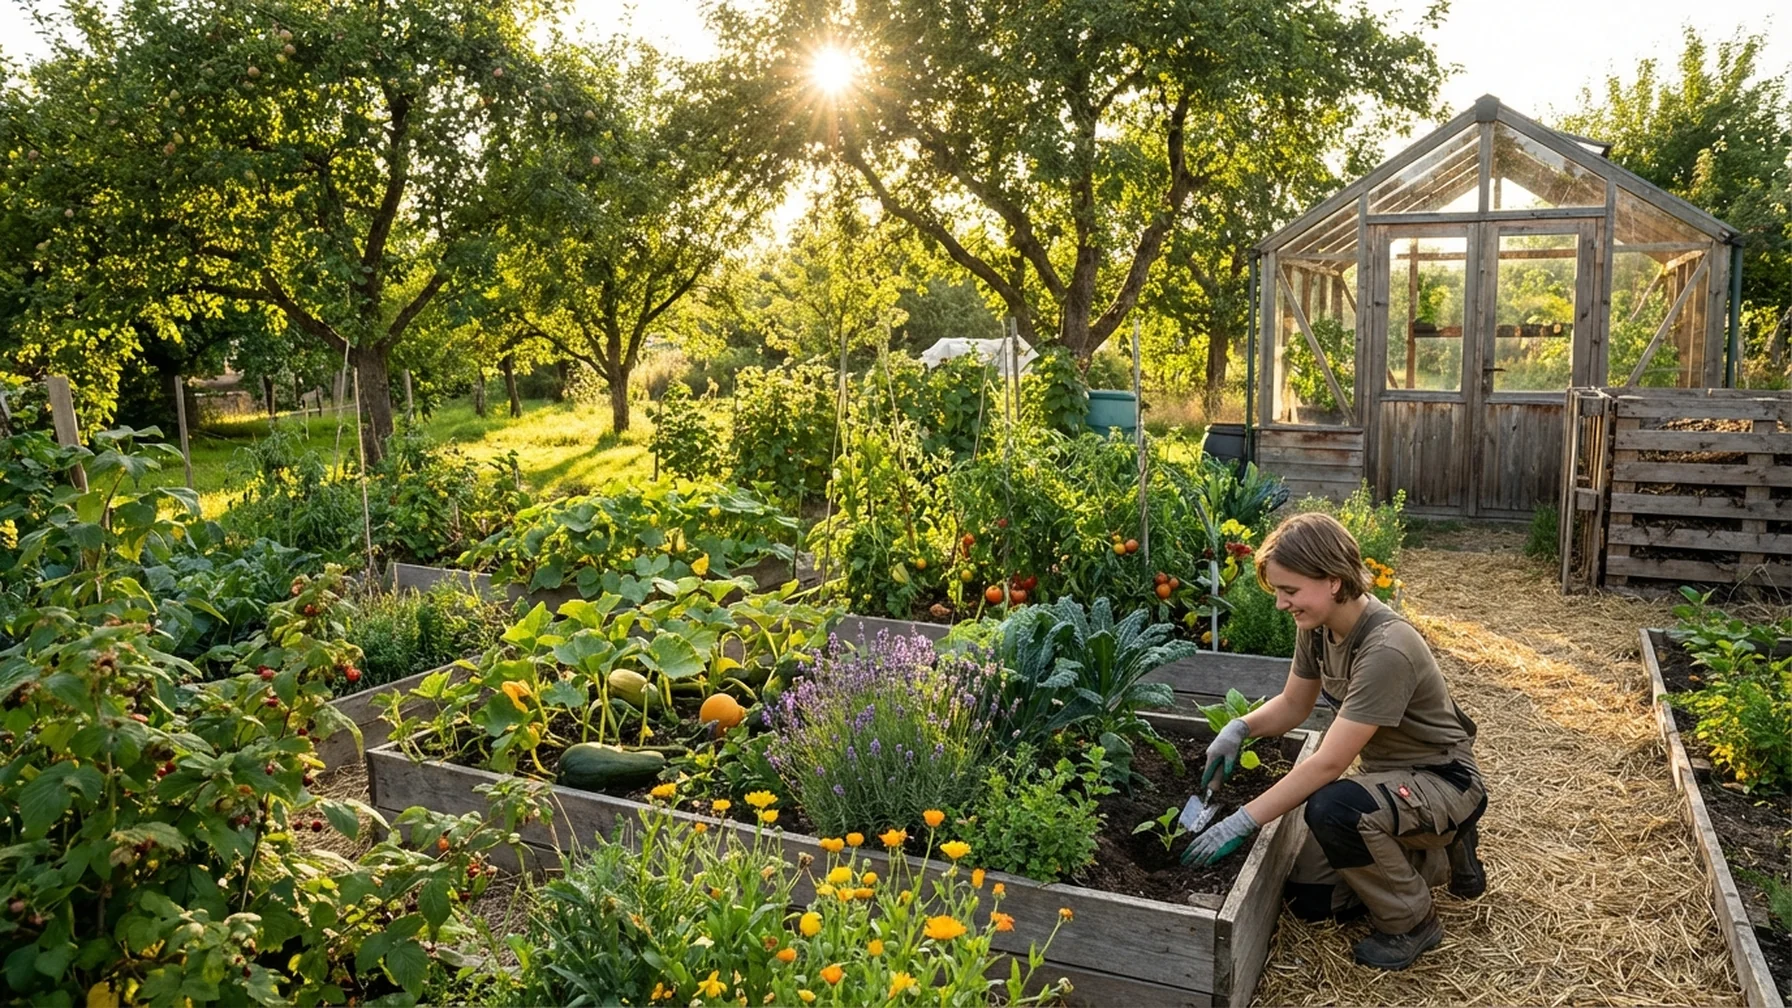
Sustainable Living Practices
Embrace eco-friendly lifestyles with our sustainable techniques that protect the environment.
Community Support
Join a vibrant community of like-minded individuals passionate about gardening and sustainability.
Workshops & Resources
Access a variety of workshops and resources to enhance your gardening skills and knowledge.
Diverse Crop Selection
Grow a wide range of organic crops tailored to your local climate and soil conditions.
Frequently Asked Questions.
What is The Heritage Allotment?
The Heritage Allotment is a community-focused initiative promoting organic gardening and sustainable living practices.
How can I get involved with The Heritage Allotment?
You can get involved by signing up as a member, participating in workshops, or volunteering in our community garden.
Do I need gardening experience to join?
No prior gardening experience is required. We welcome gardeners of all skill levels and provide resources and support to help you learn.
What types of plants can I grow in my allotment?
You can grow a variety of organic vegetables, herbs, and flowers that are suitable for your local climate and soil conditions.
Are there any fees associated with joining?
Yes, there is a nominal membership fee to help cover the costs of maintaining the allotment and organizing events.
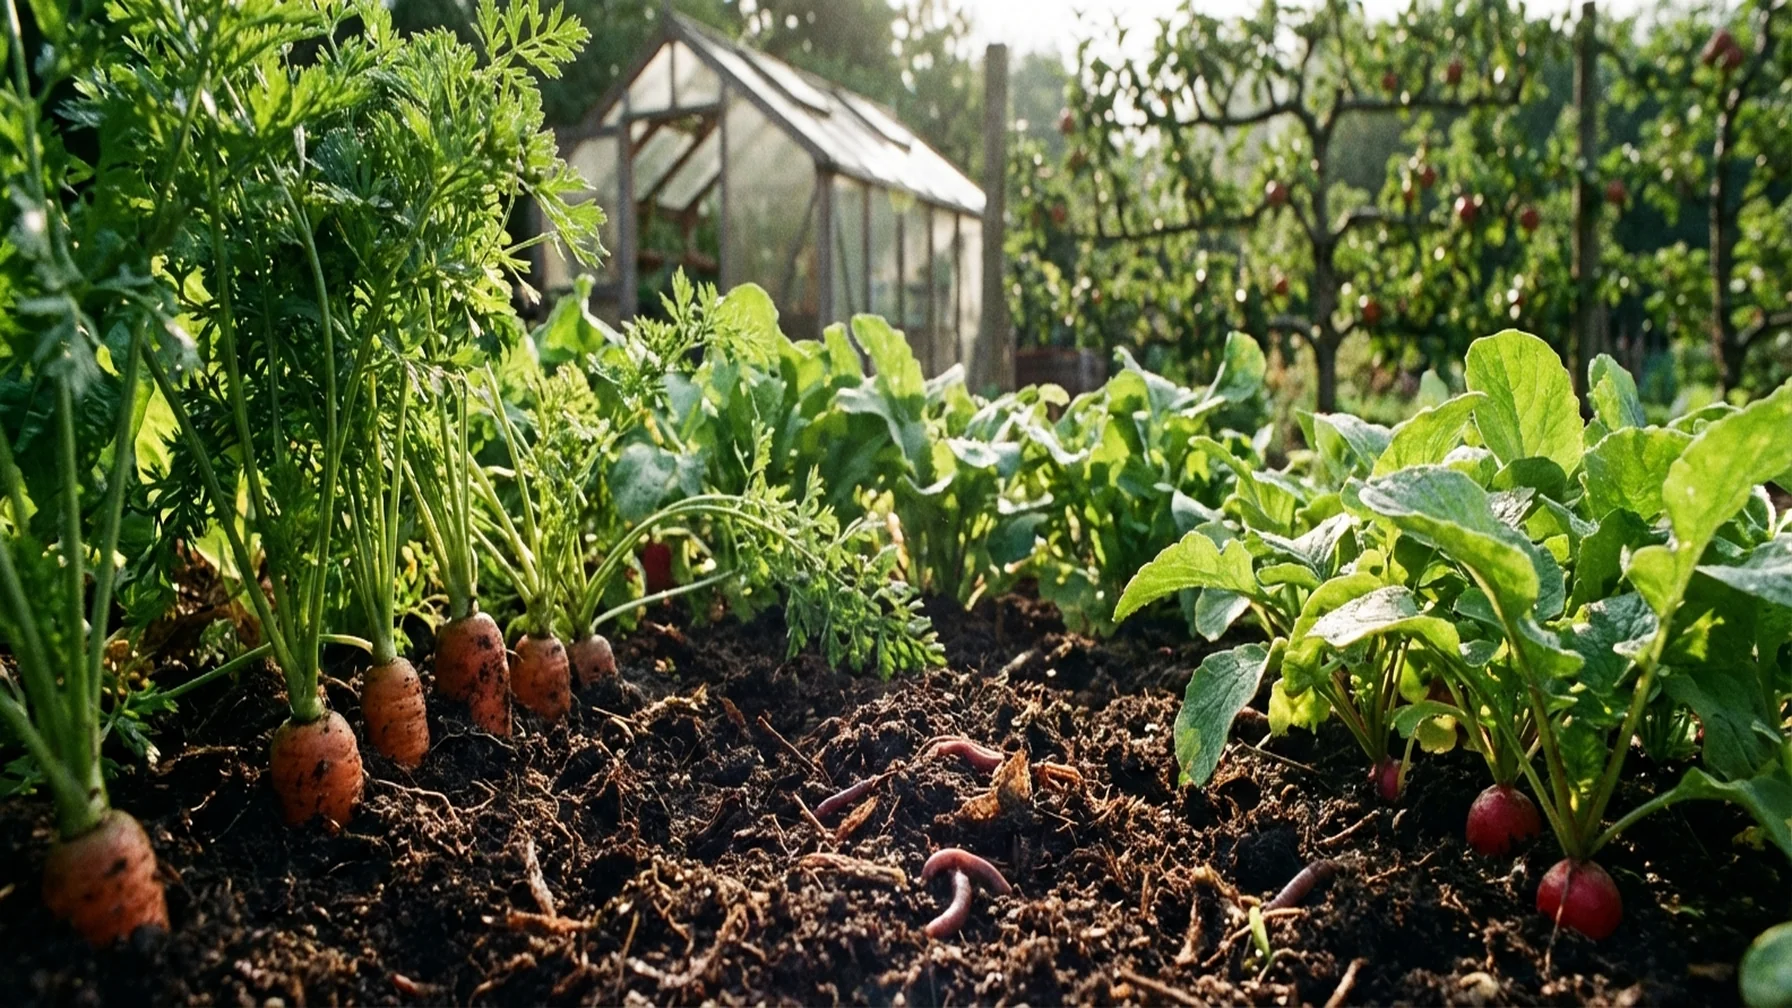
What sustainable practices do you promote?
We promote practices such as composting, permaculture, crop rotation, and natural pest management to enhance sustainability.
Can I attend workshops without being a member?
Yes, we offer some workshops that are open to non-members, but members receive discounts and priority registration.
How can I learn more about organic gardening?
We provide resources, workshops, and a community of experienced gardeners to help you learn about organic gardening techniques.
Is there a community space for meetings and events?
Yes, we have a community space available for meetings, events, and social gatherings for our members.
How can I stay updated on events and news?
You can subscribe to our newsletter, follow us on social media, or visit our website for the latest updates.
Stay updated with our latest news and insights.
Quality content and tools for our community.
Unsubscribe at any time.